HT32合泰(Holtek)单片机开发环境搭建安装教程
前言
最近在准备合泰杯的比赛,在看合泰官方的PPT和数据手册学习,顺便做个合泰单片机的开发环境搭建教程。
合泰杯比赛发放的开发板是ESK32-30501,用的单片机是HT32F52352。
合泰杯官网地址:https://url.zeruns.com/S7xu8
合泰官方HT32F52352授课教材PPT:https://url.zeruns.com/r5Jt0 提取码:m9kj
电子/单片机技术交流群:2169025065
准备
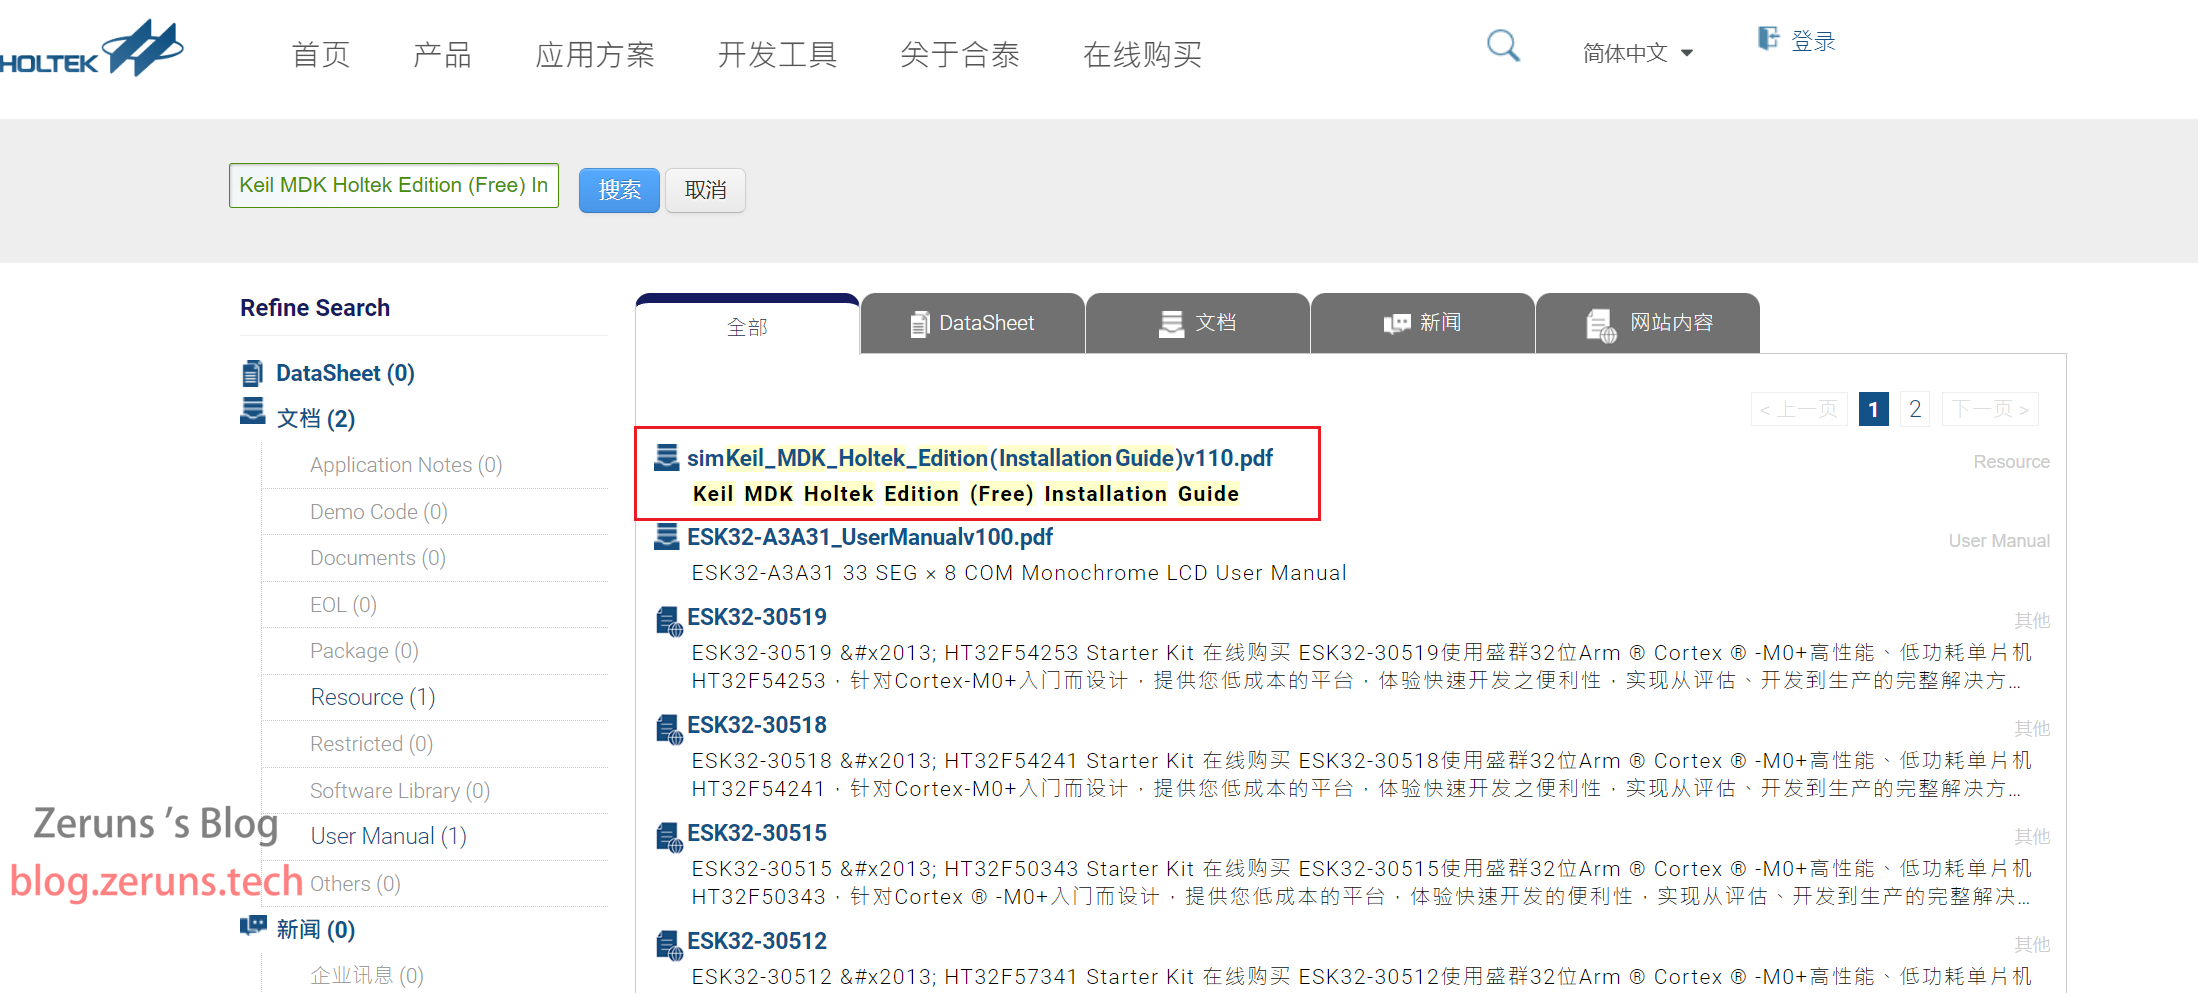
首先需要安装Keil MDK-ARM,这个就不详讲了,自己百度,或者看合泰的教程,合泰有提供Keil的激活码,可以用于 Holtek 的 Arm® Cortex-M0+ 微控制器系列产品,教程链接:https://url.zeruns.com/kwuFg
下面需要用到的软件和固件库我已经打包好了,下载地址:https://url.zeruns.com/HT32 提取码:55bv
需要用到的东西购买地址:
ESK32开发板:https://s.click.taobao.com/ndAFyKu
DAPLINK:https://s.click.taobao.com/Lt4FyKu
杜邦线:https://s.click.taobao.com/QVTFyKu
环境搭建
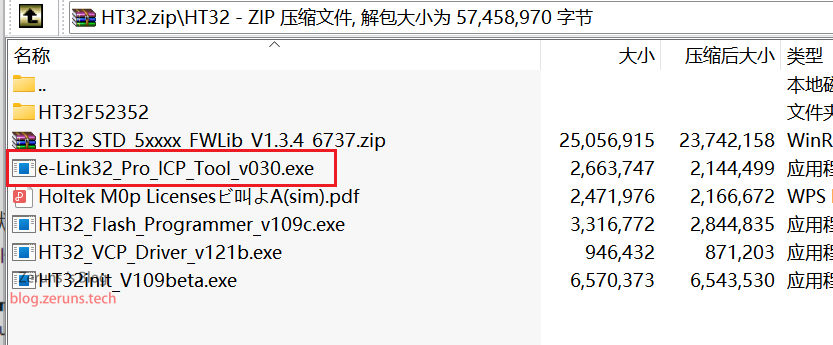
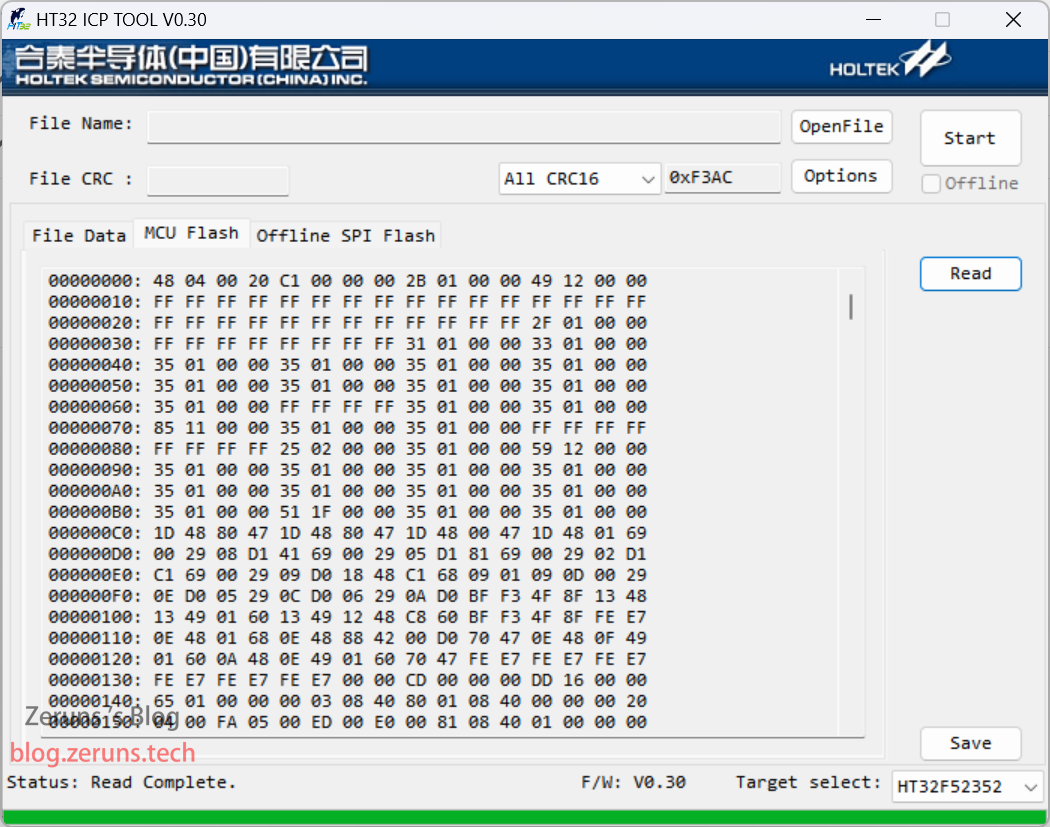
安装烧录工具 HT32 ICP Tool,下图压缩包中的e-Link32_Pro_ICP_Tool_v030.exe,双击运行后一直下一步即可,会同时安装e-Link32的驱动,然后打开 HT32 ICP Tool,接上开发板,软件右下角选择一下单片机型号,点击Read,测试一下能不能正常读取。
这个软件可以在合泰官网下载:https://url.zeruns.com/GEWtC
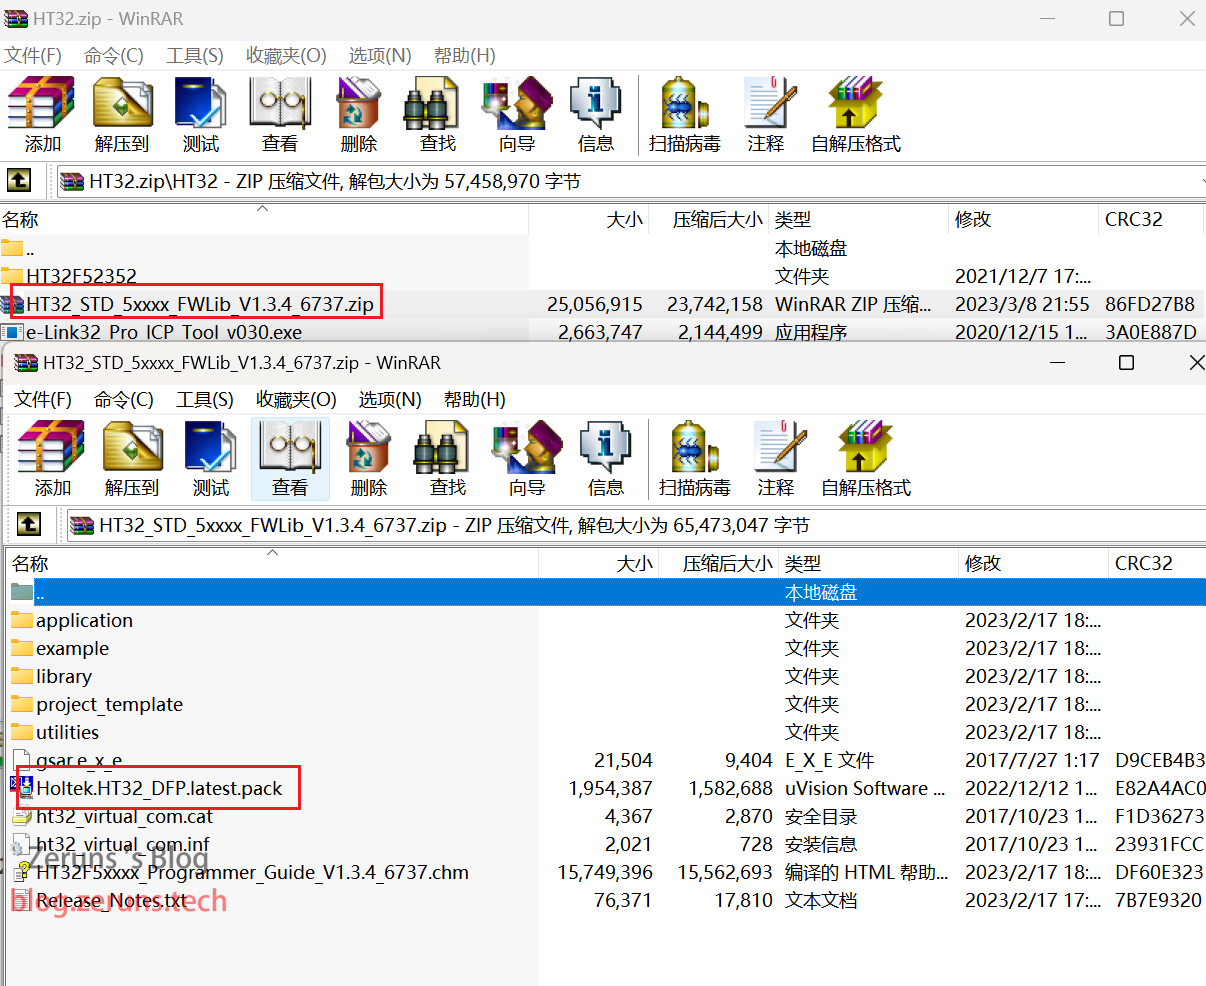
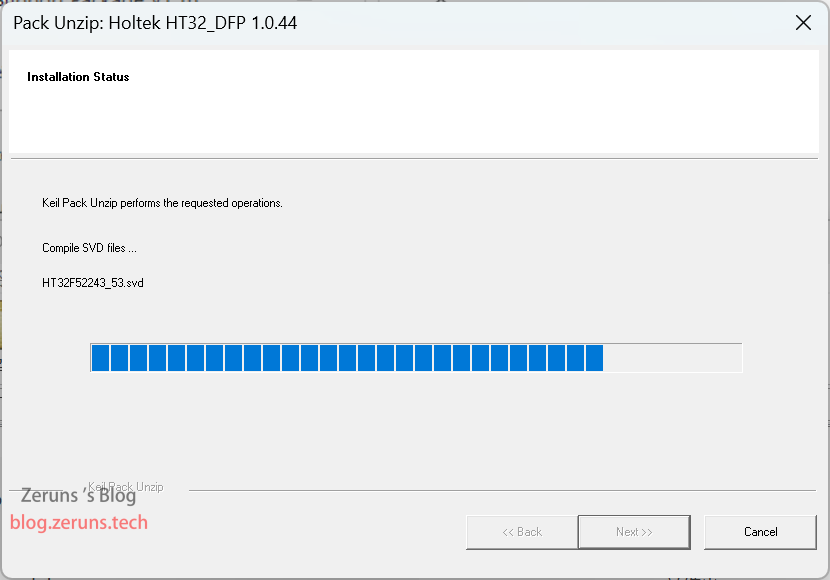
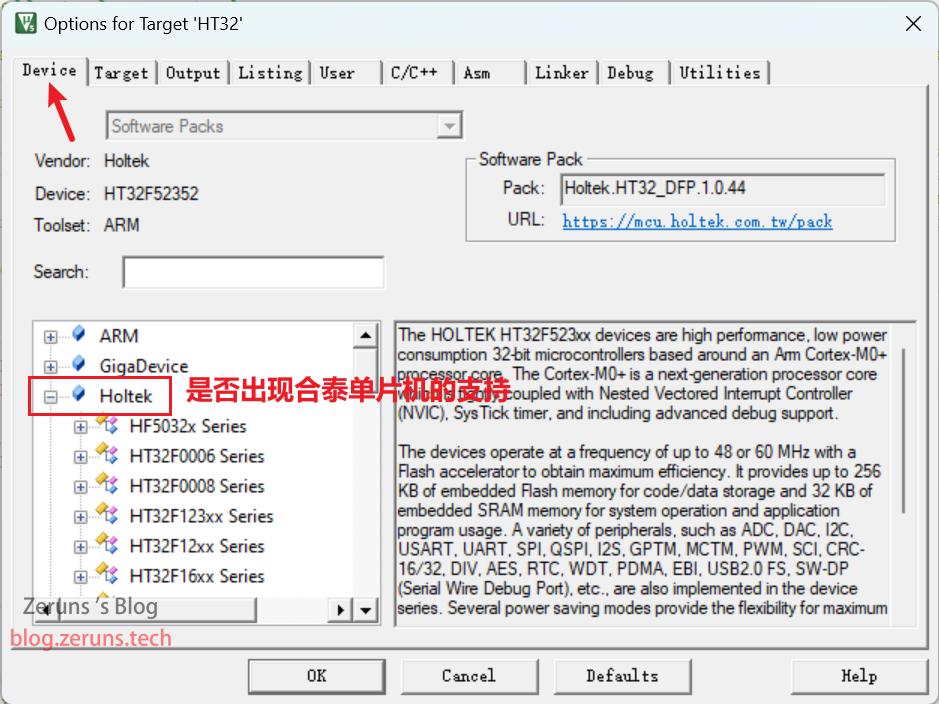
安装HT32的Keil支持包,HT32_STD_5xxxx_FWLib_V1.3.4_6737.zip压缩包中的Holtek.HT32_DFP.latest.pack,双击运行后一直下一步即可。
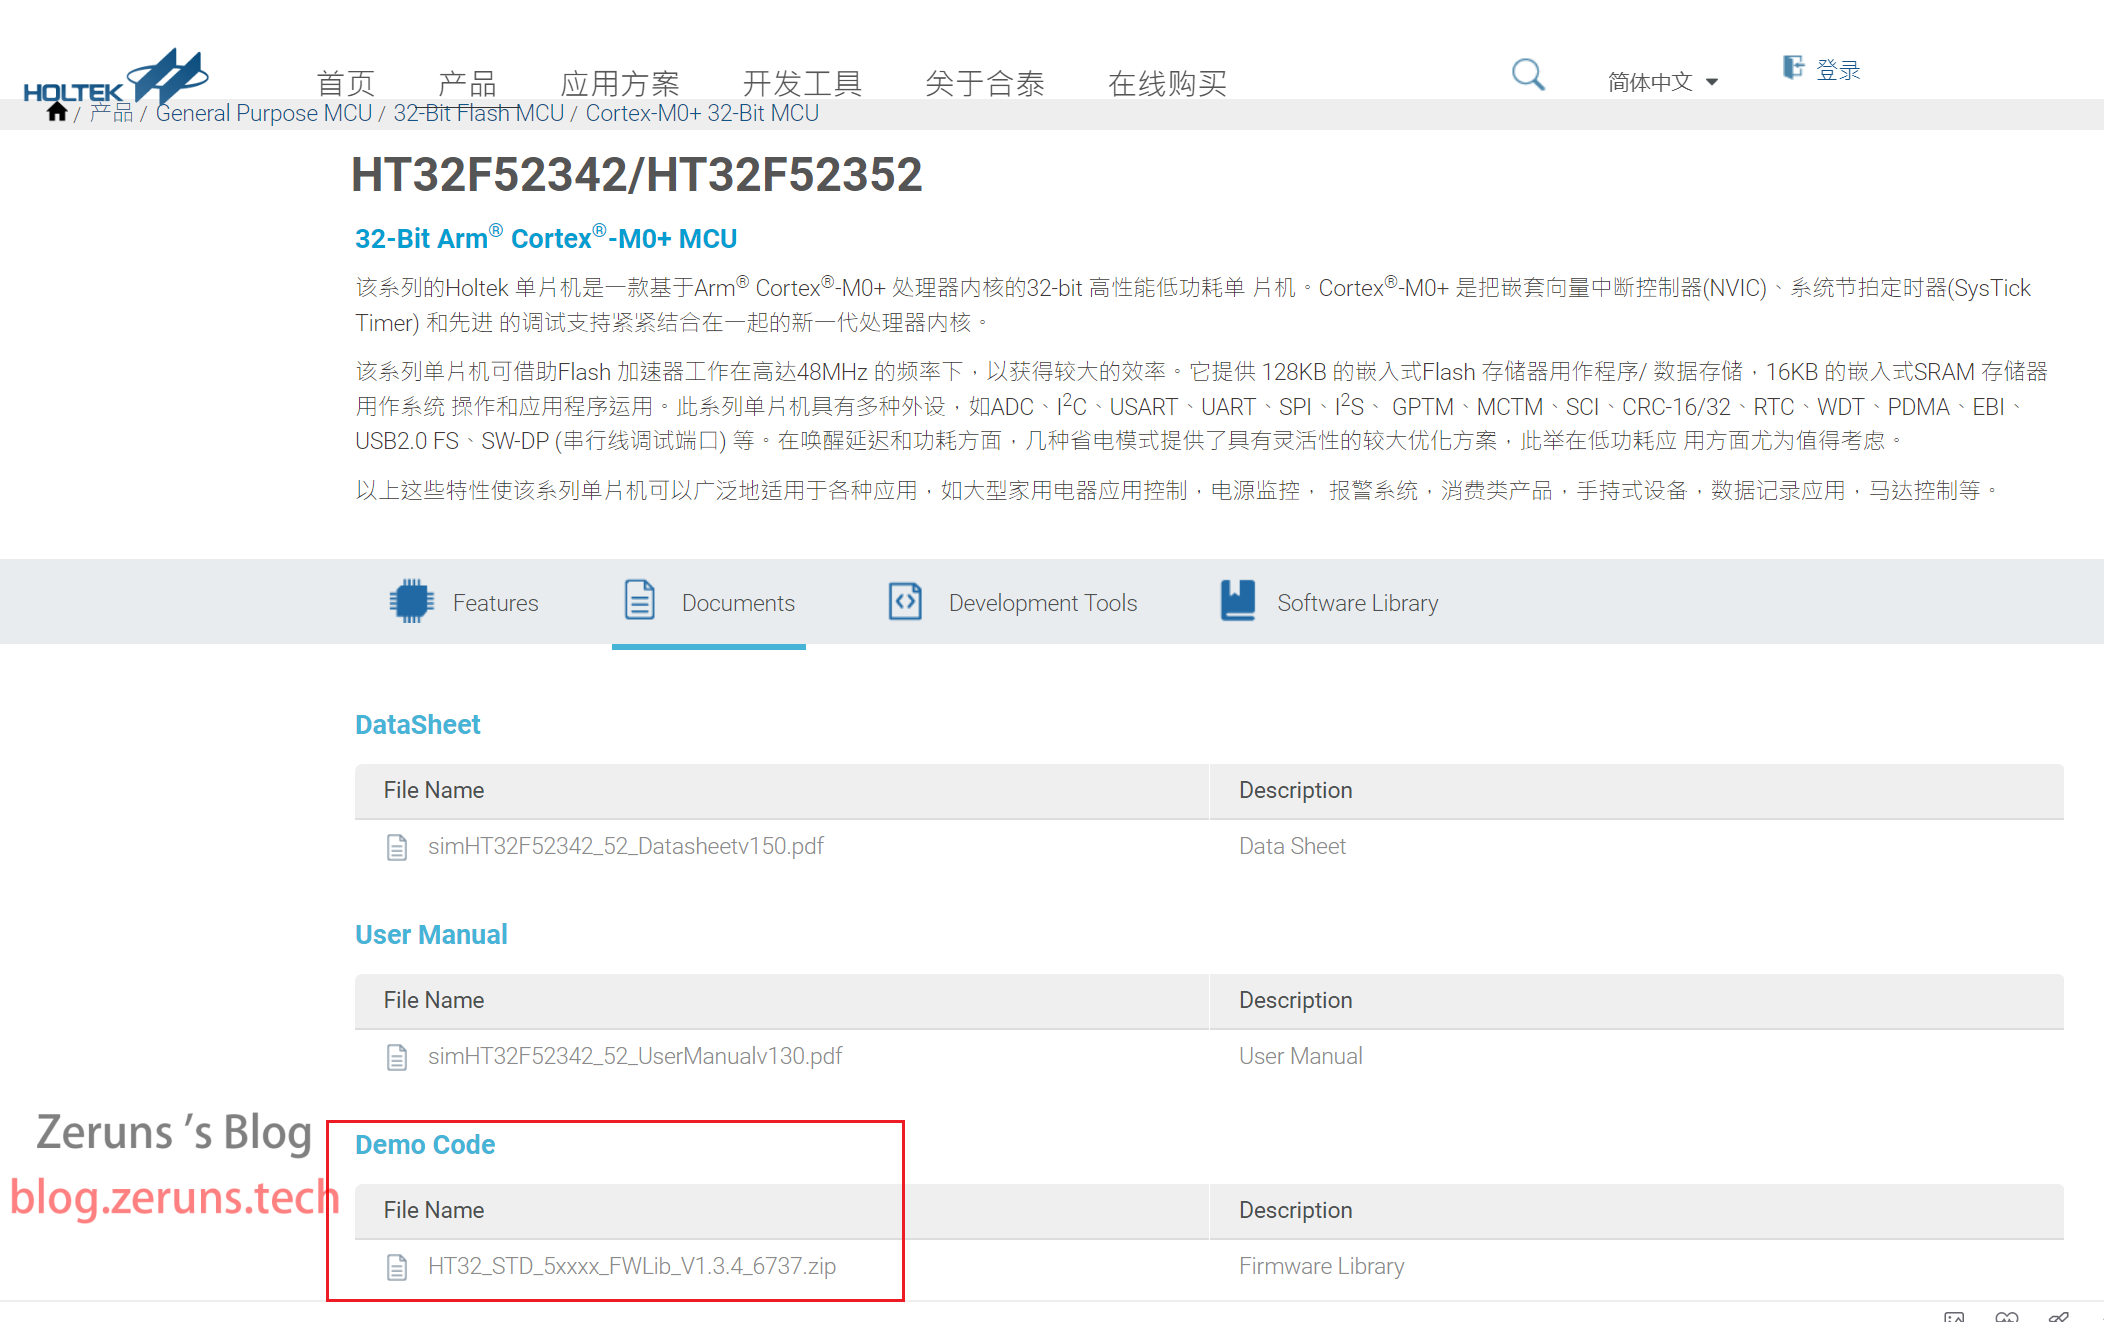
如果是合泰的其他单片机或者想下新版本可以去官网下:https://url.zeruns.com/HT32F52352
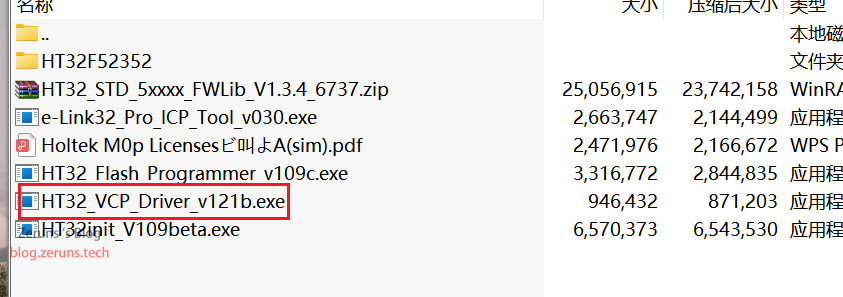
安装 HT32 Virtual COM 驱动,这是e-Link32自带的虚拟串口的驱动,双击HT32_VCP_Driver_v121b.exe运行,一直下一步即可。
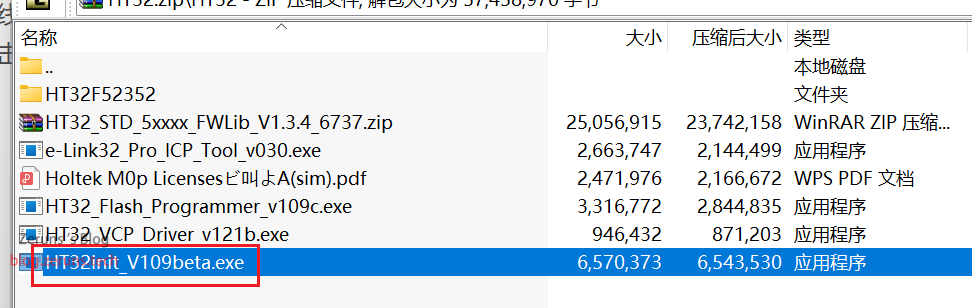
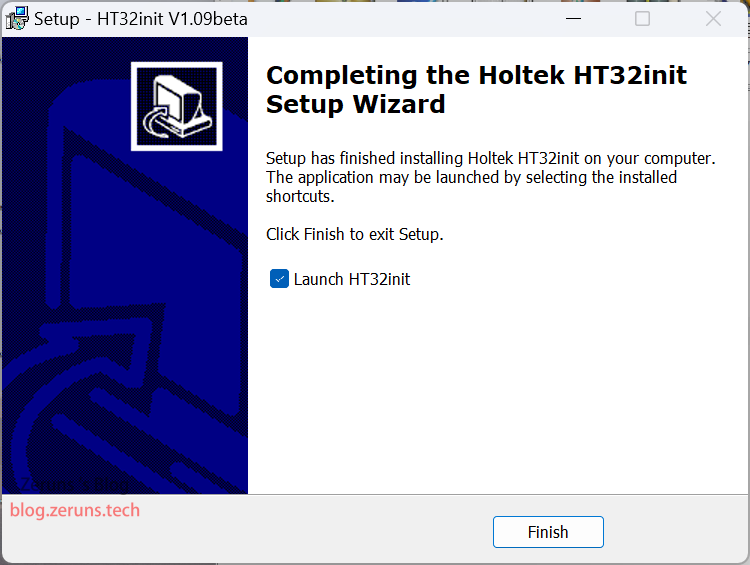
安装HT32init,双击HT32init_V109beta.exe运行,一直下一步即可,这是一个类似于STM32CubeMX的软件,可以图形化配置生成代码。
环境检查
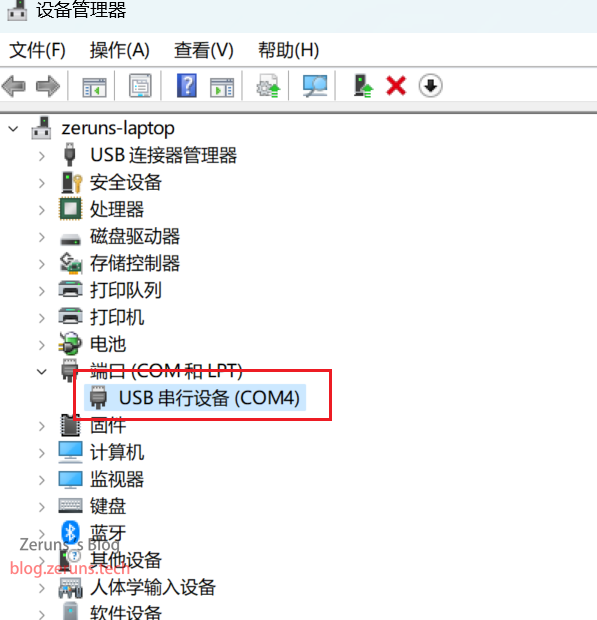
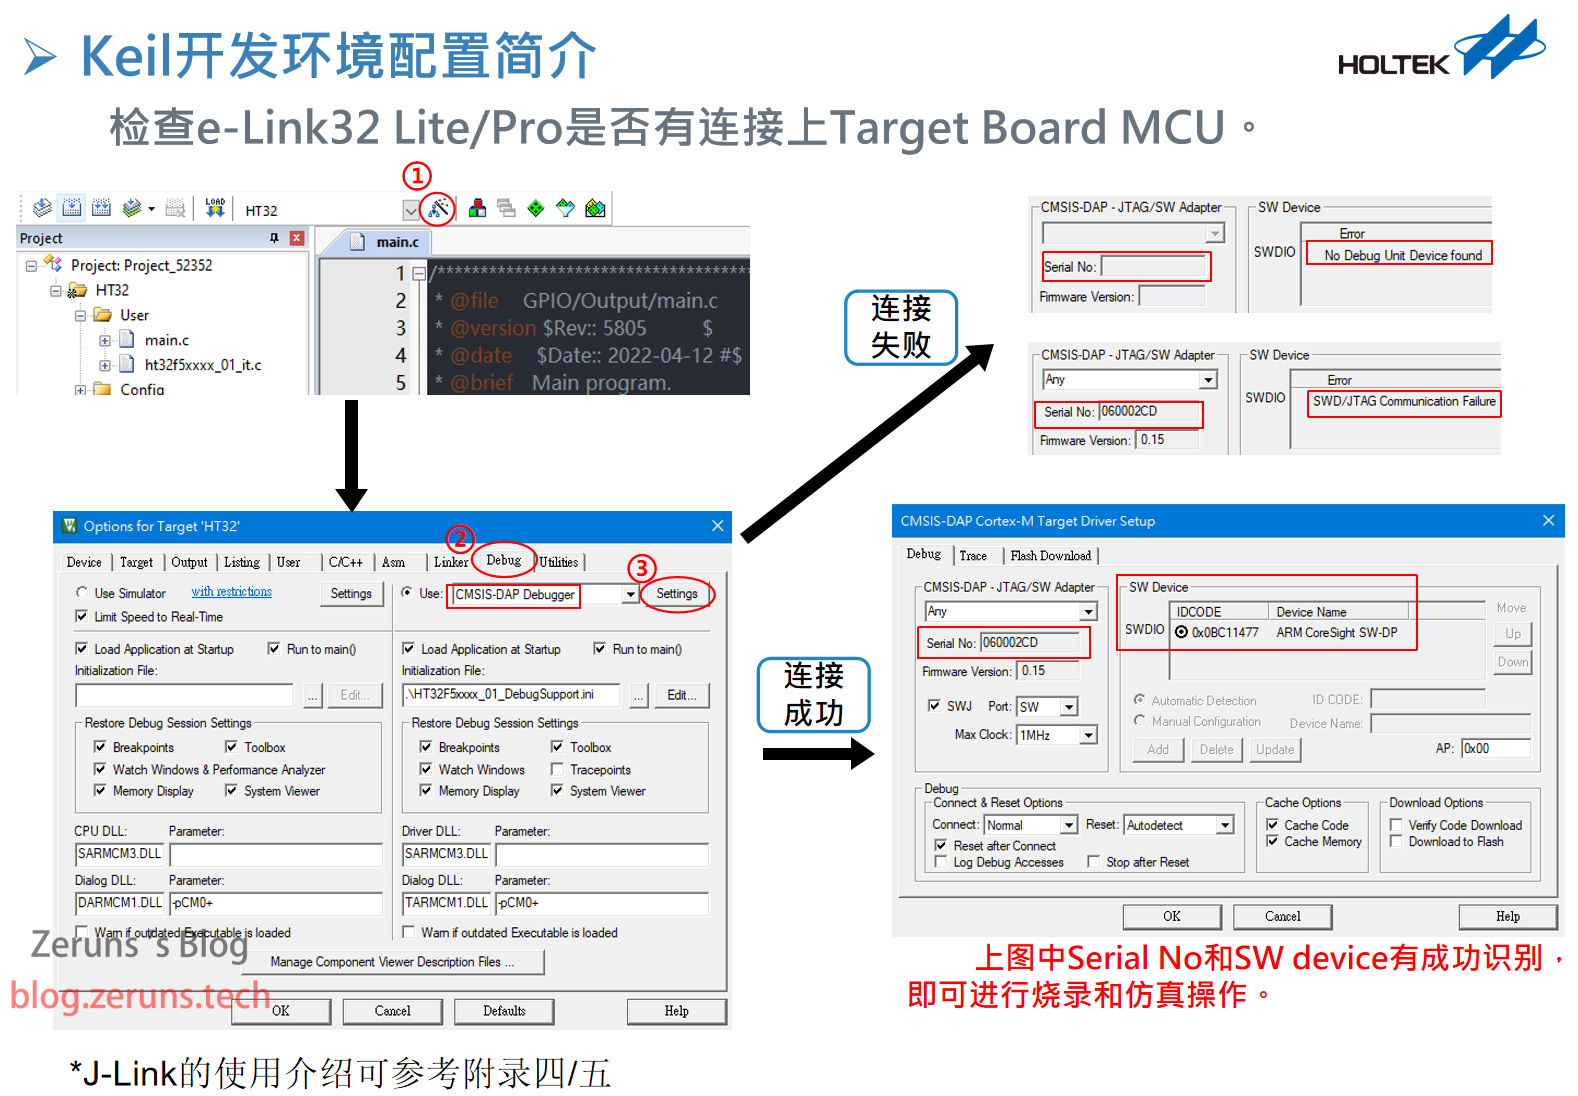
至此为止,环境搭建完毕,你现在可以使用数据线连接合泰单片机和电脑,然后回到电脑桌面,鼠标右键单击此电脑,选择属性然后在界面左侧点击设备管理器,然后查看是否出现图示结果。
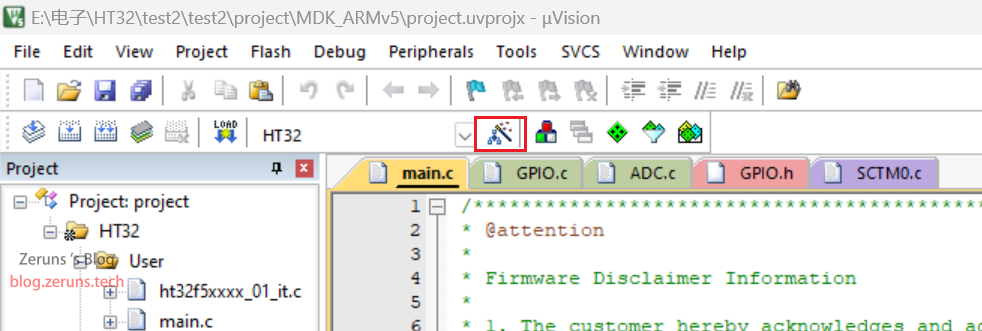
然后双击keil5软件,可能会弹出提示你检测到了新支持包,如果没有的话,可以点击这个按钮。
编程测试
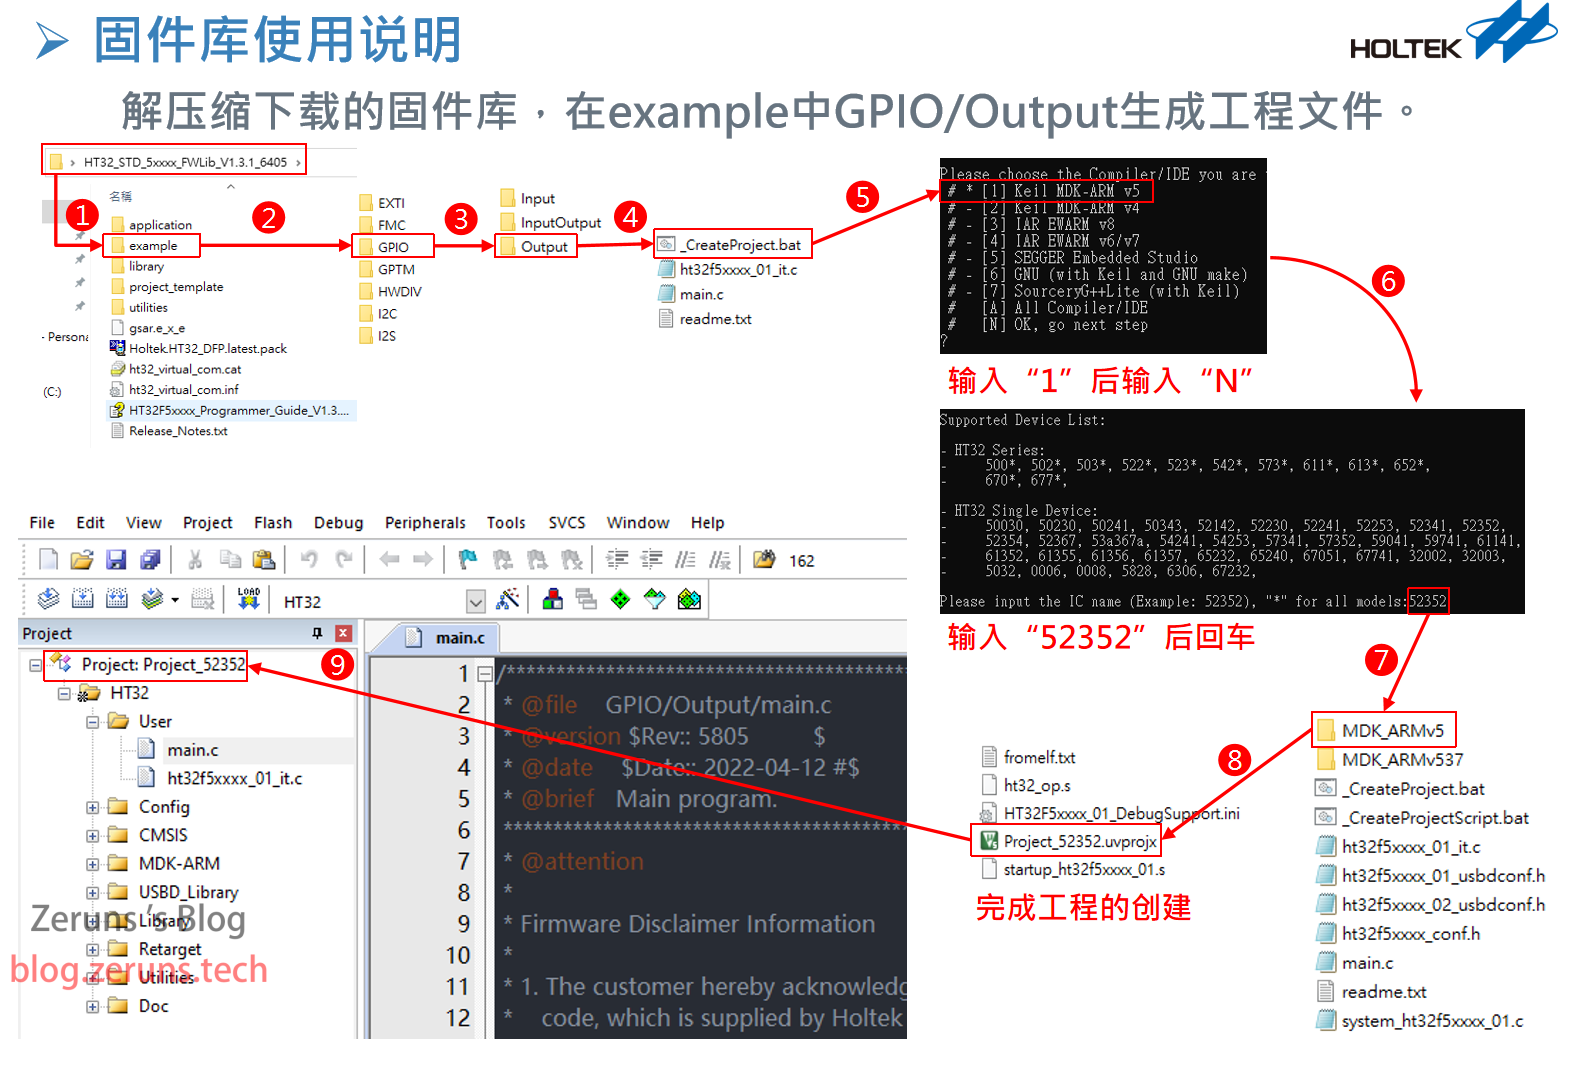
最后需要建一个工程项目来检查是否可以一键下载程序到合泰单片机,建项目可能比较难,但是不要紧,可以把官方的例程改一下测试,官方例程就在那个HT32_STD_5xxxx_FWLib_V1.3.4_6737.zip固件库包里。
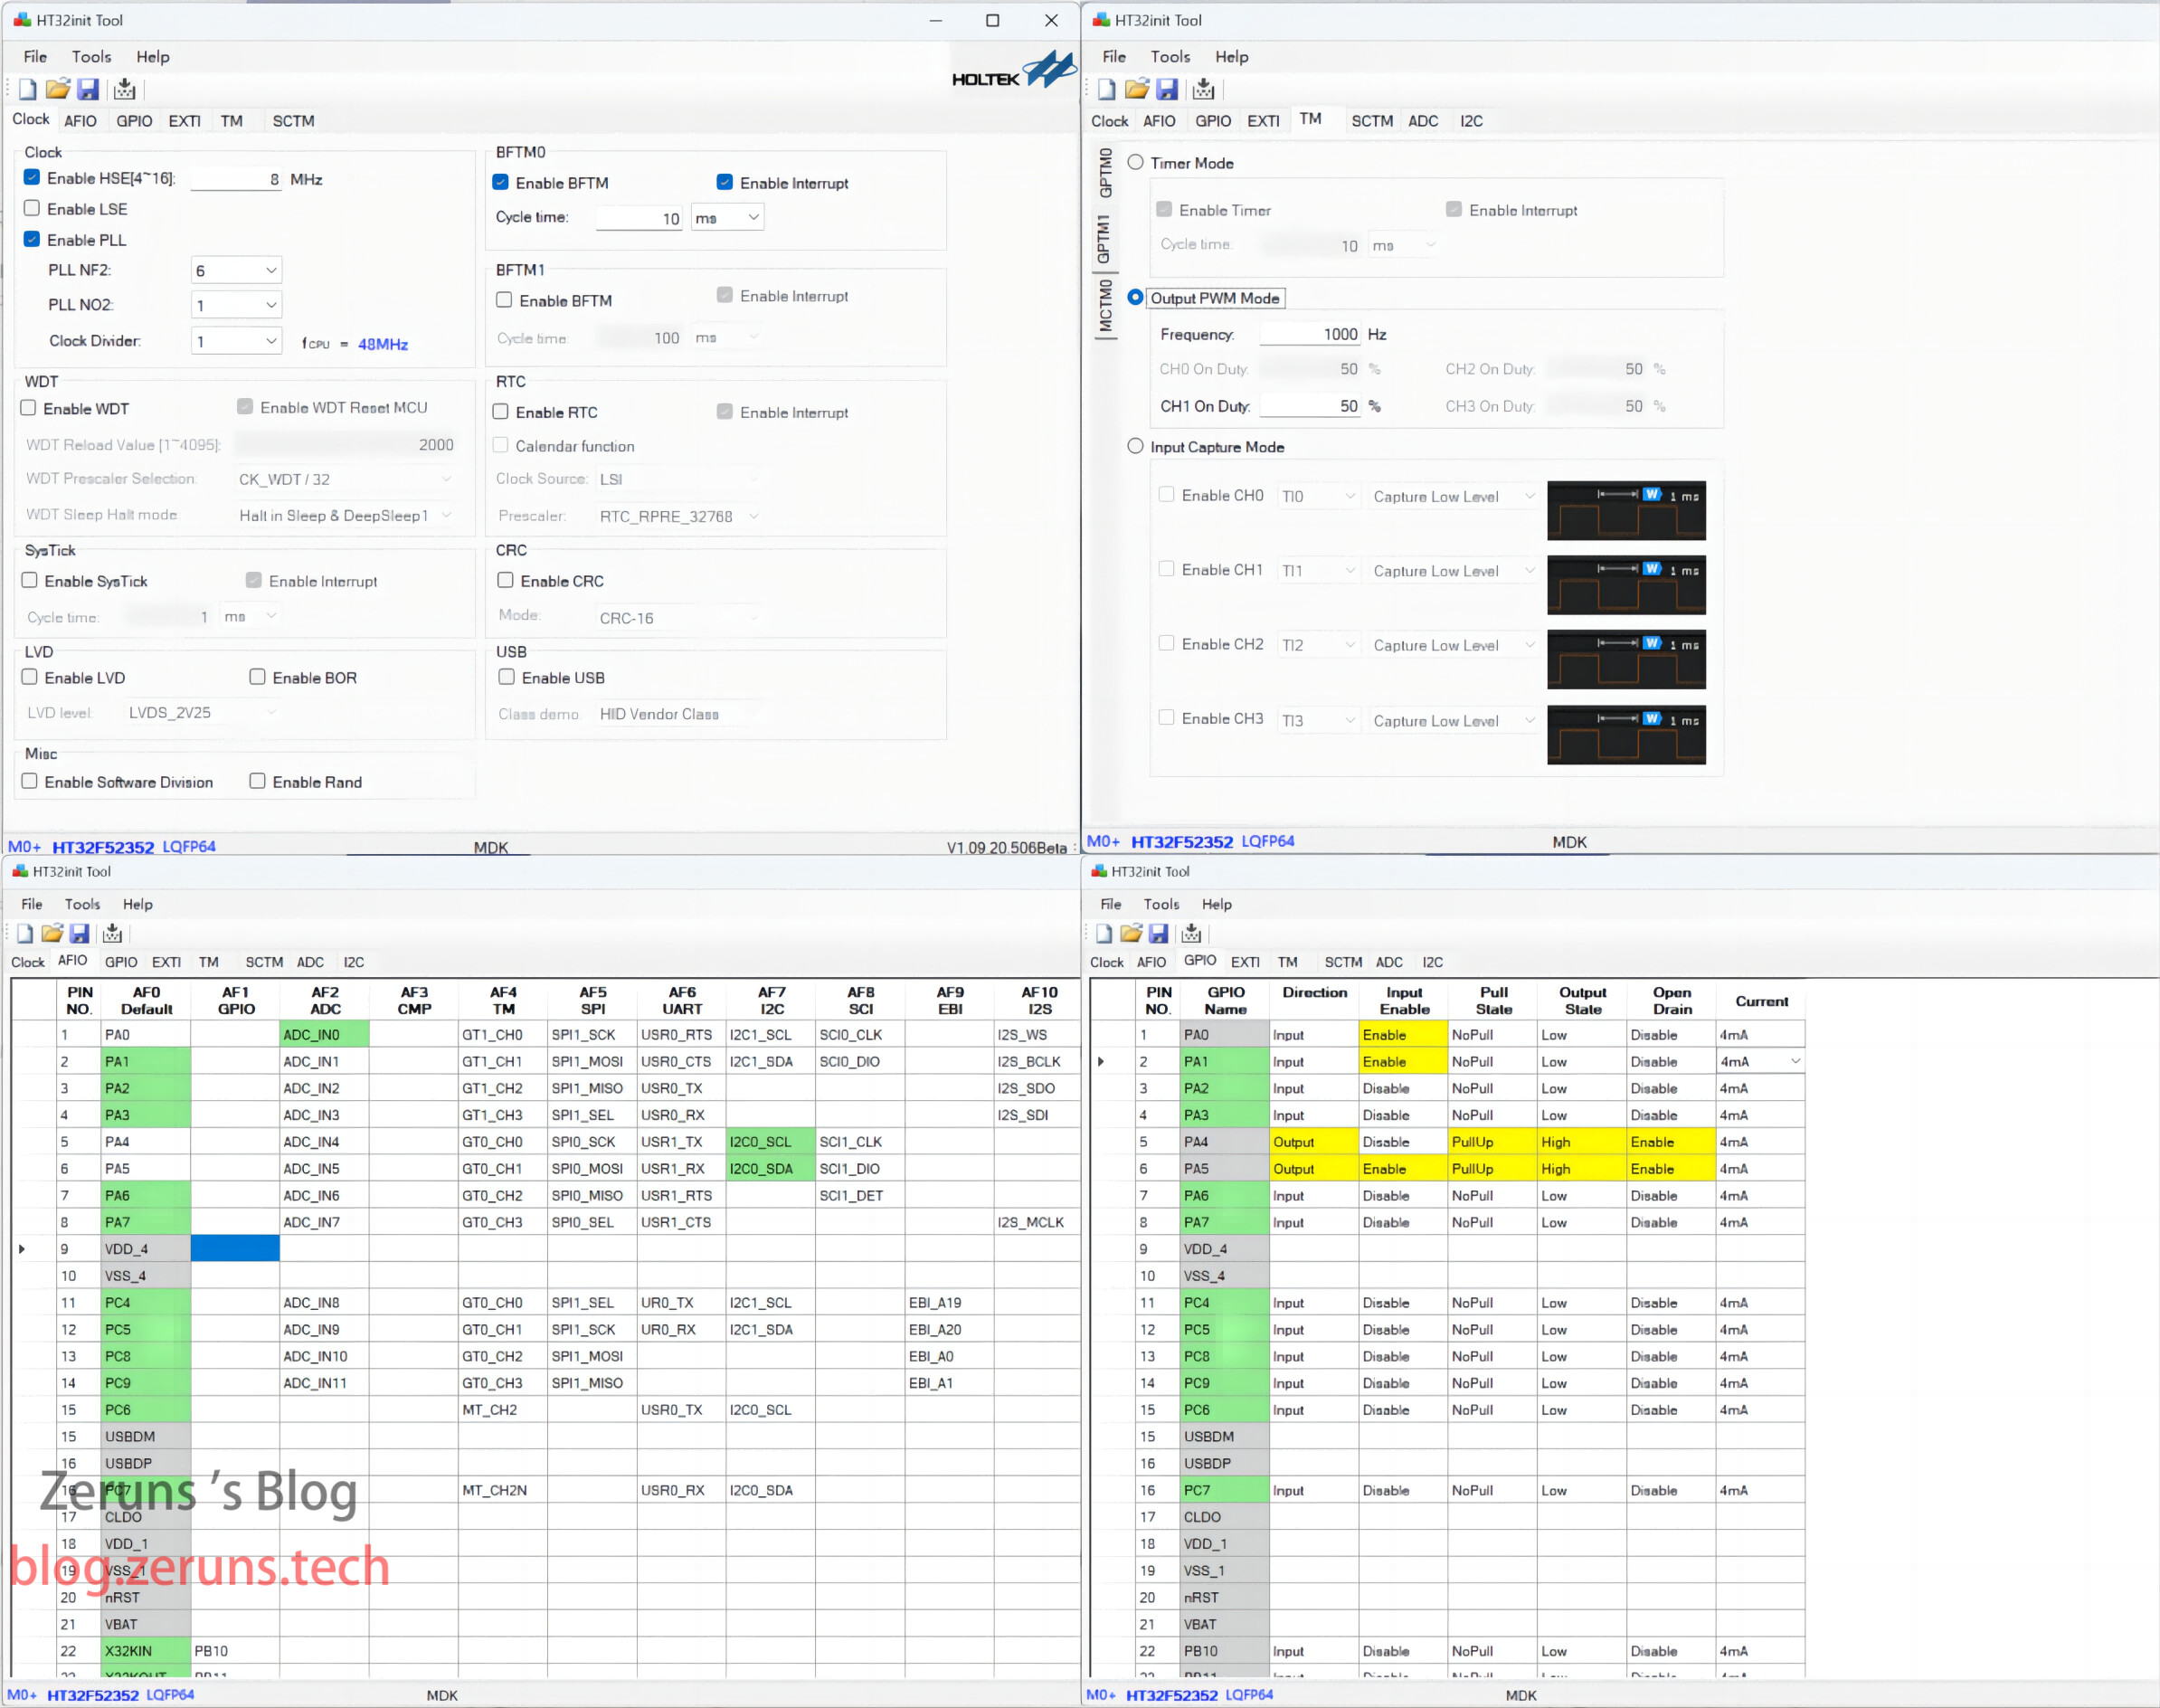
固件库使用教程看下图

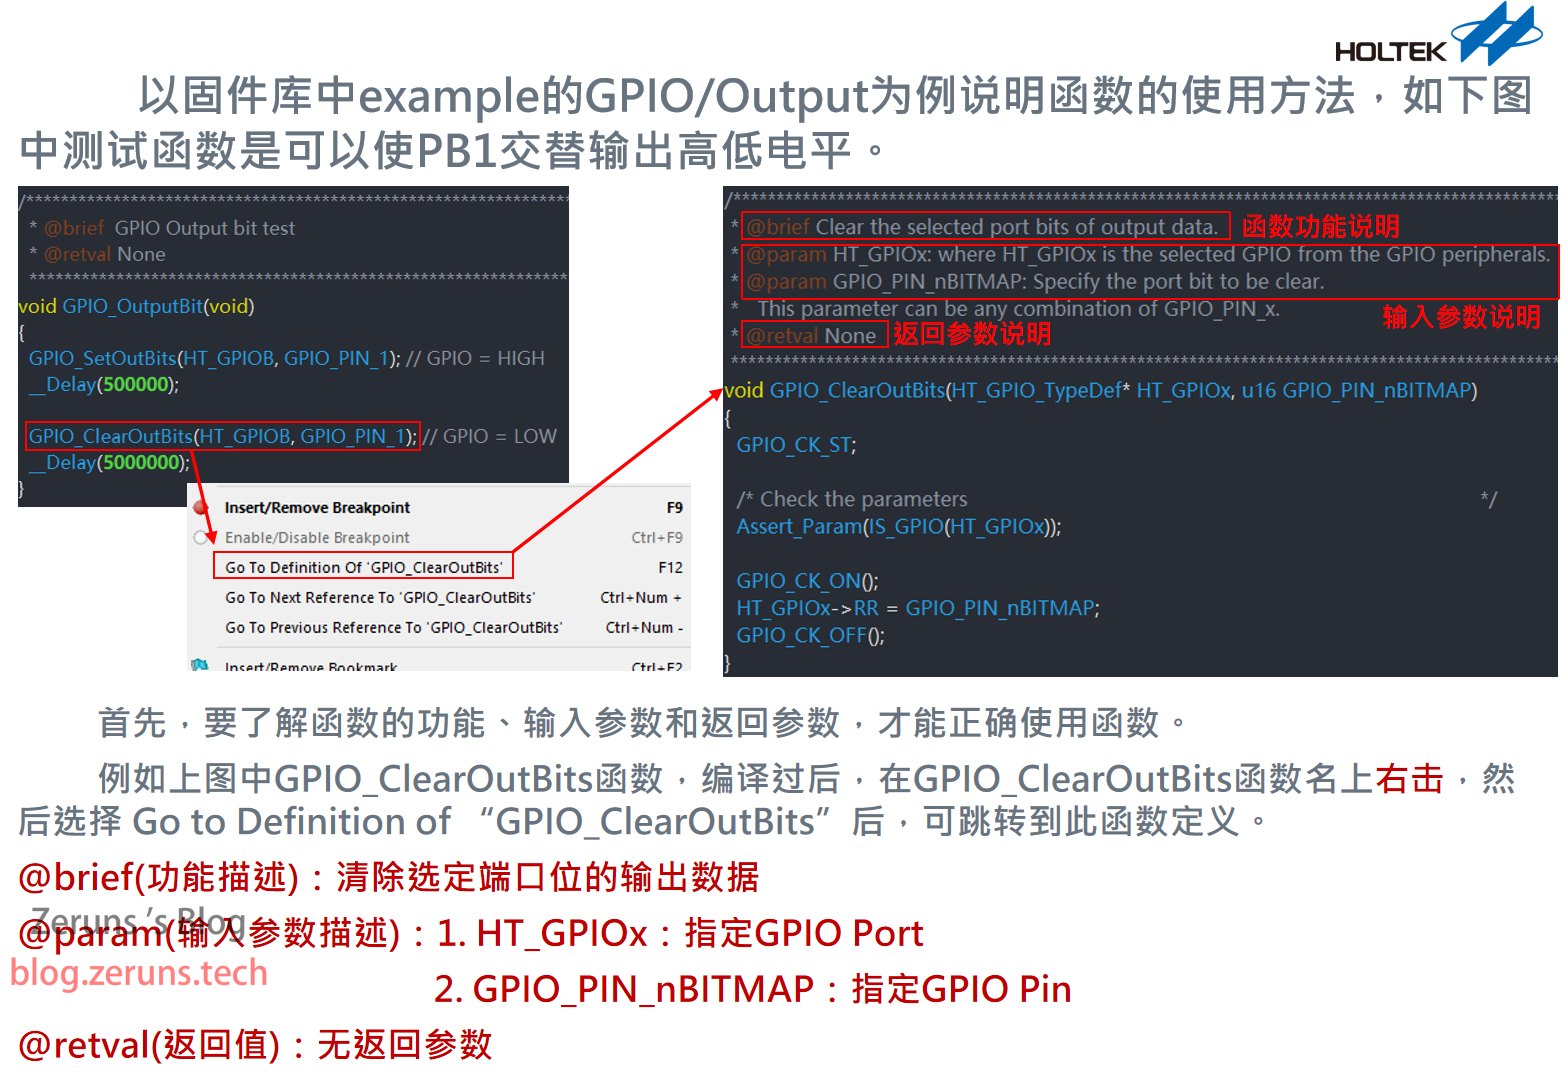
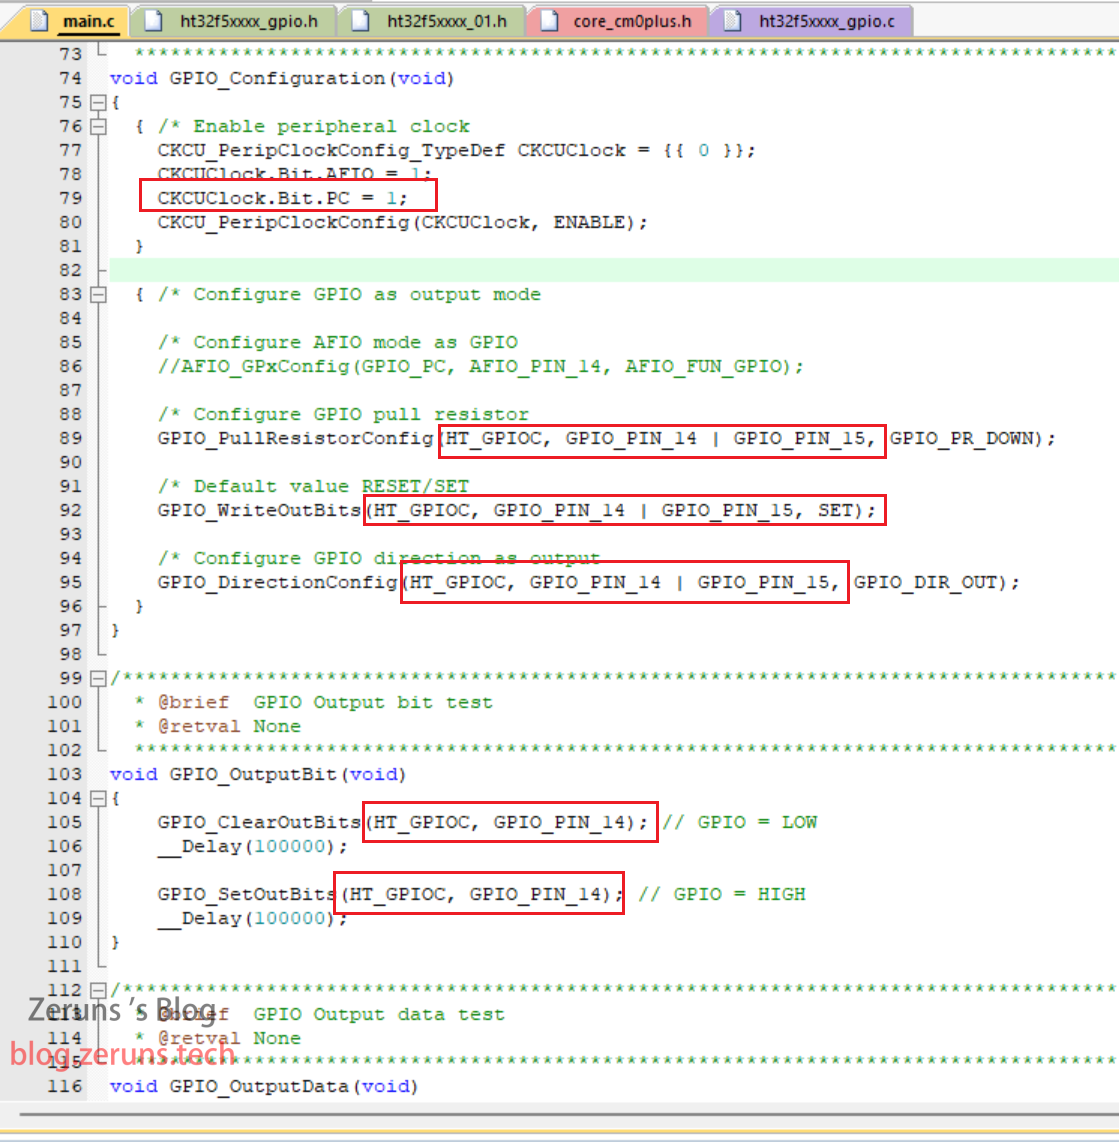
ESK32-30501开发板上有两个LED可以用来测试,对应的端口分别是PC14和PC15。

修改一下官方固件库里的GPIO/Output例程,修改如下图红框所示位置的内容后编译并下载即可点亮LED。
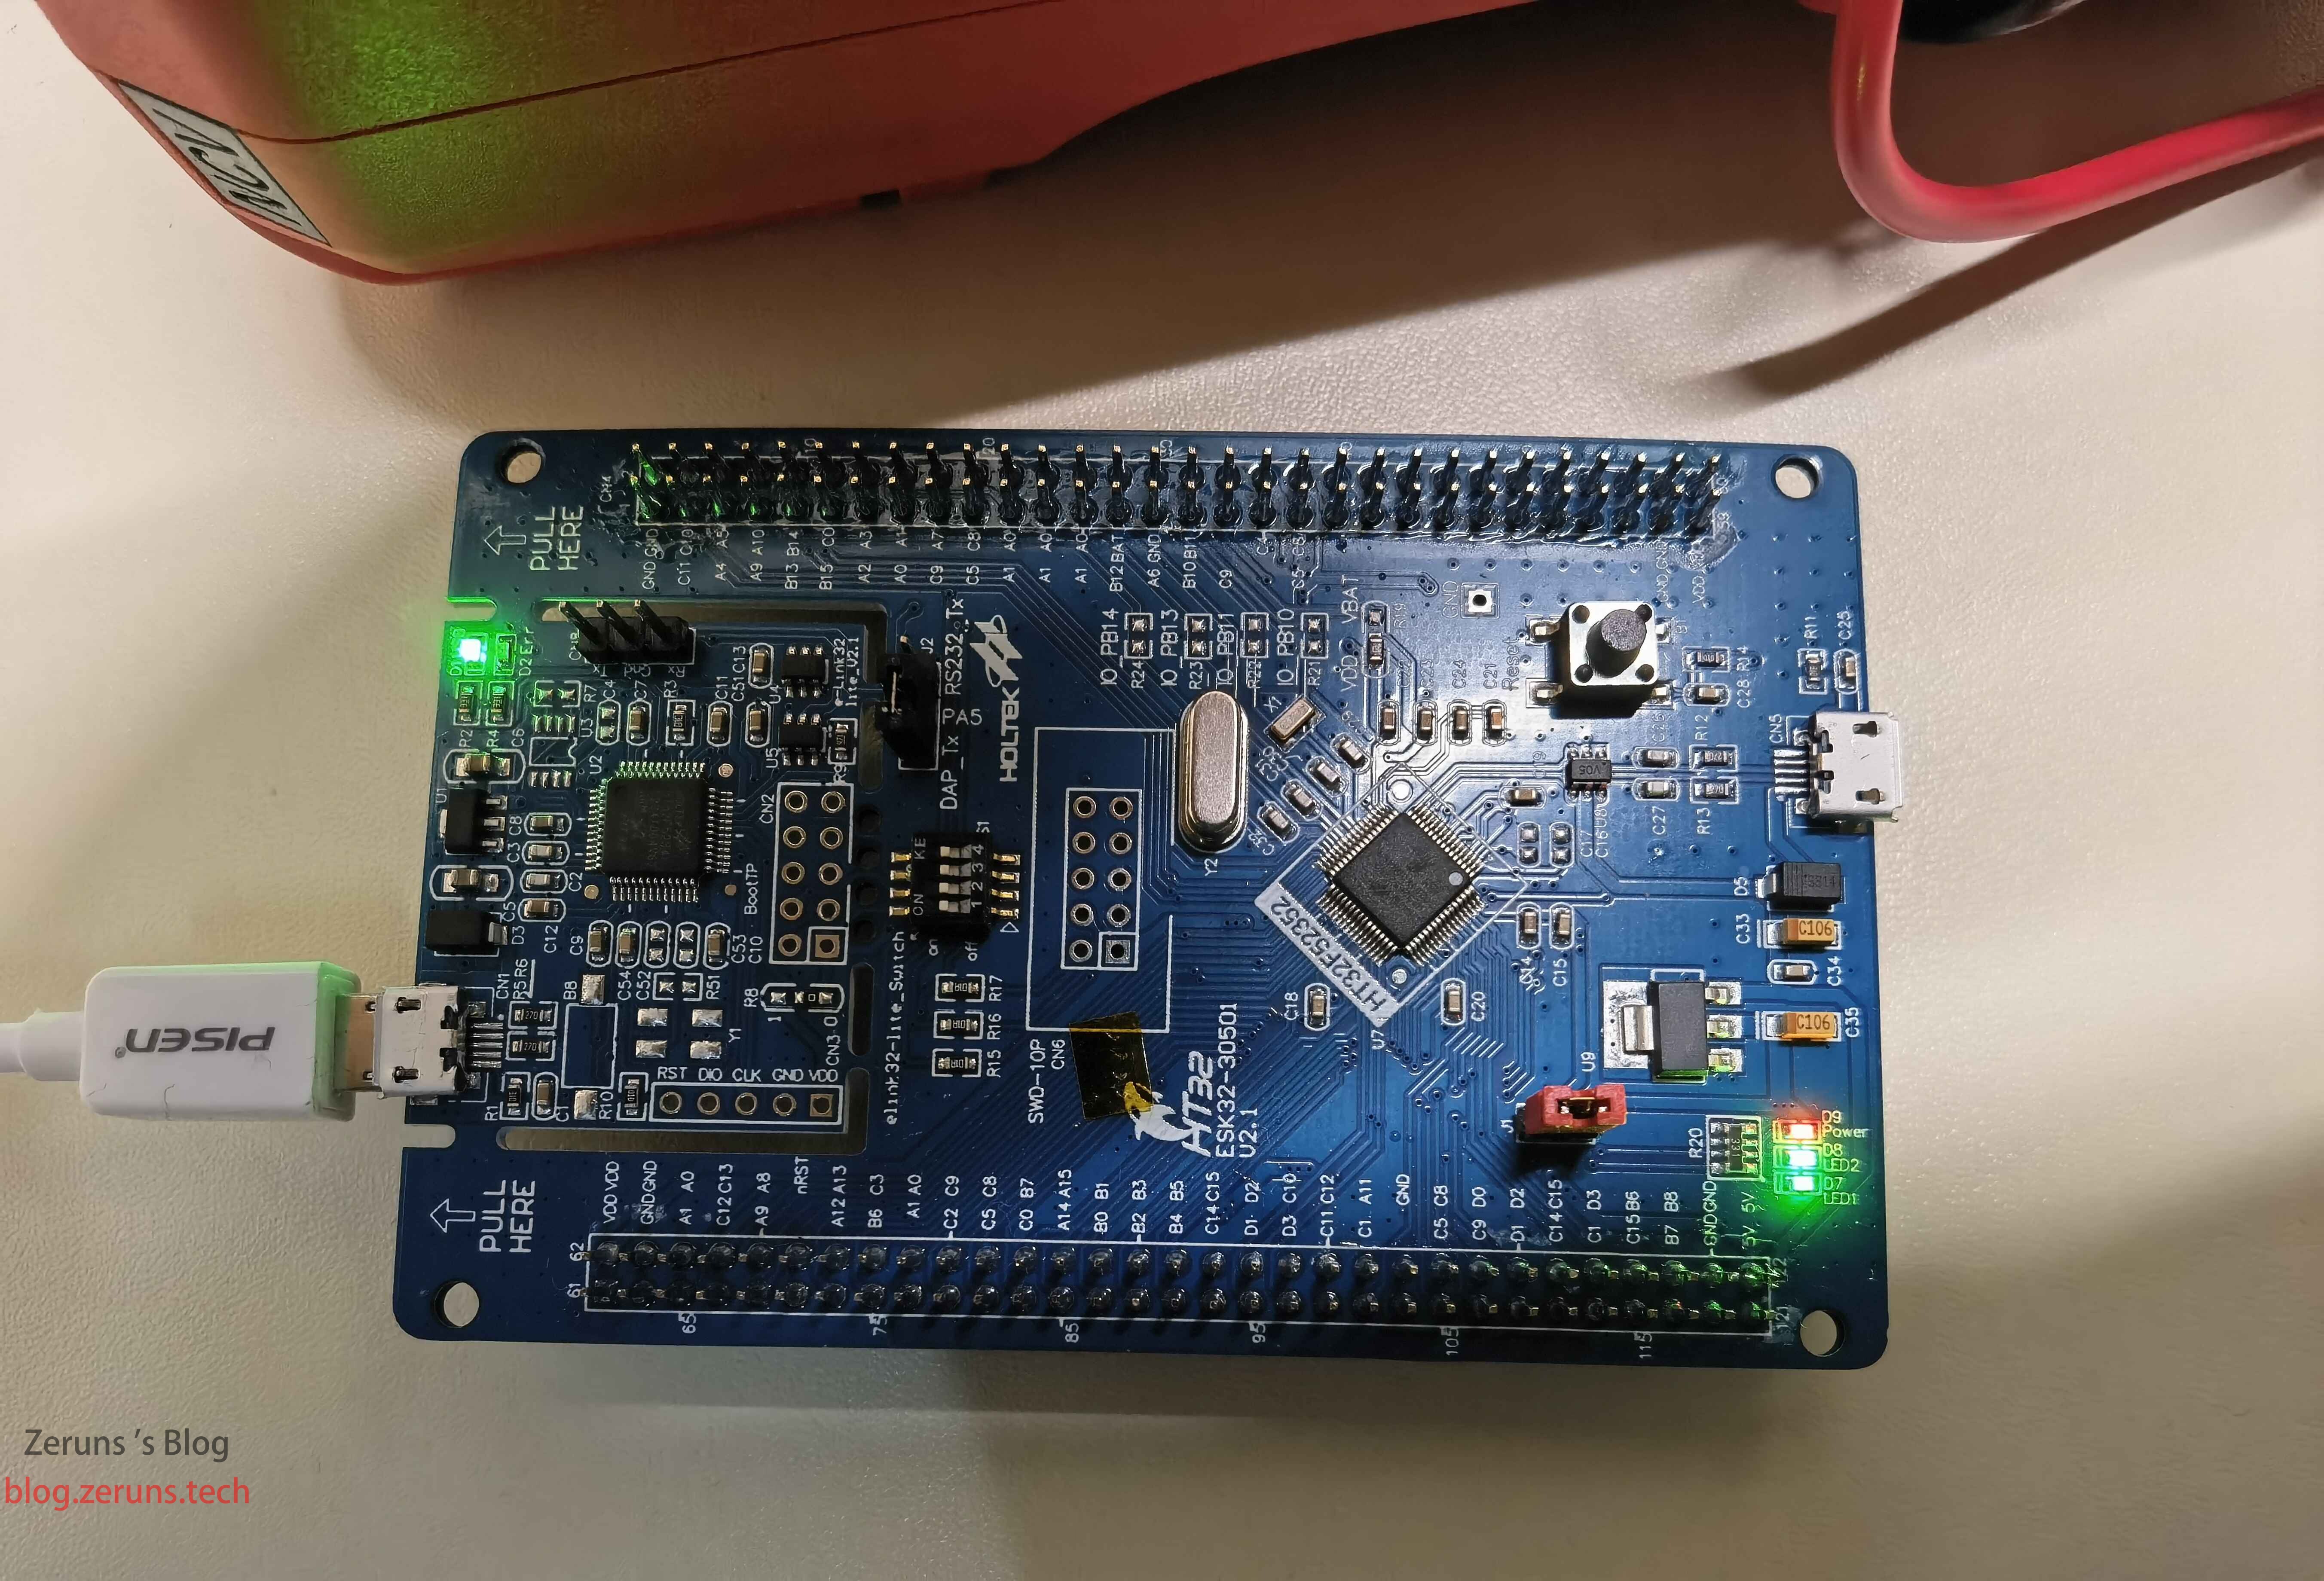
效果如下图所示。
附上改好的程序,里面还加上了用SysTick定时器做的延时程序:https://url.zeruns.com/CCJv2 提取码:7p2r
推荐阅读
- 高性价比和便宜的VPS/云服务器推荐: https://blog.zeruns.com/archives/383.html
- 怎样搭建个人博客:https://blog.zeruns.com/archives/218.html
- 我的世界服务器搭建教程:https://blog.zeruns.com/tag/mc/
- STM32读取SHT3x系列温湿度传感器:https://blog.zeruns.com/archives/700.html
- 使用VSCode代替Keil实现STM32和51单片机的开发:https://blog.zeruns.com/archives/690.html