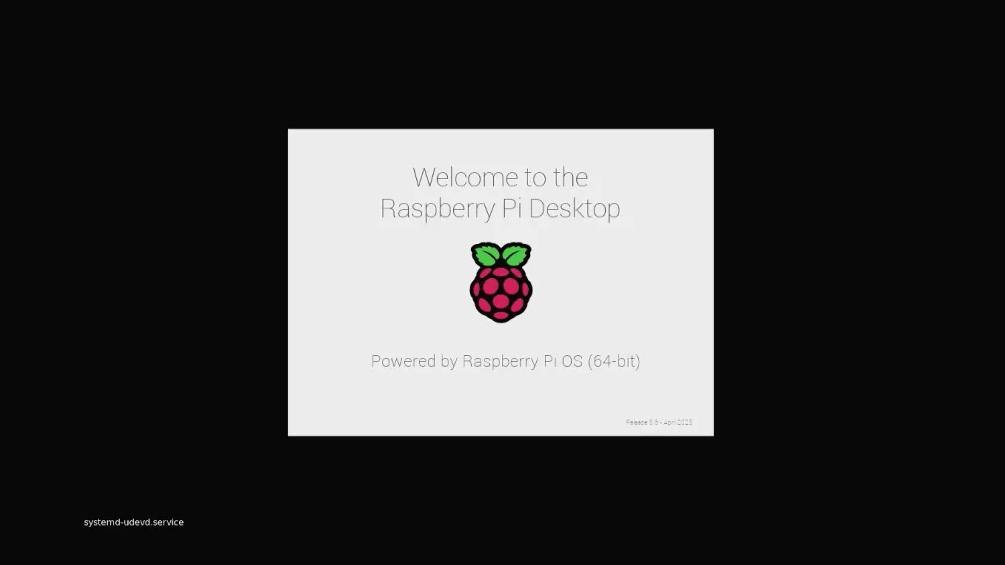
Many Raspberry Pi users want a clean and professional boot experience instead of seeing long kernel logs and system messages.
Although tools like fbi (framebuffer image viewer) are often recommended by the community, they have a fundamental limitation: the framebuffer device /dev/fb0 is not available before system services start. Therefore, they cannot display images early enough during the boot process.
This guide introduces a reliable method using Plymouth to display a custom splash screen from the early boot stage.
Phase 1: Silence Kernel Output
During boot, kernel logs will scroll on the screen and interfere with the custom splash display.
Add the following parameters to the boot command line:
sudo sed -i '$s/$/ logo.nologo quiet loglevel=0/' /boot/firmware/cmdline.txt
Explanation of the parameters:
-
logo.nologo
Removes the Raspberry Pi logo (or distribution logo) from the top-left corner. -
quiet
Reduces the amount of kernel output. -
loglevel=0
Only shows emergency messages, making the kernel almost completely silent.
![]() Important:
Important:
cmdline.txt must remain a single line with parameters separated by spaces. Incorrect formatting may prevent the system from booting.
Hide the Blinking Cursor
Even after silencing kernel output, some systems may still show a blinking terminal cursor.
Add the following parameter at the end of the same line:
vt.global_cursor_default=0
Phase 2: Prepare Boot Resources
Image Optimization
Recommended specifications:
- Format: PNG or JPG (PNG recommended for transparency)
- Resolution: ≤ 1920×1080
- Color palette: ≤ 224 colors (improves loading speed)
- Filename:
splash.png
Place the image in:
/boot/splash.png
This location allows the kernel to access it during early boot.
Check Display Driver Configuration
Ensure the correct display driver is enabled in:
/boot/firmware/config.txt
Example configuration:
dtparam=vc4-kms-v3d
Avoid parameters that may trigger HDMI reinitialization, such as:
hdmi_force_hotplug=1
Phase 3: Deploy the Plymouth Theme System
1. Install Required Packages
sudo apt update
sudo apt install plymouth plymouth-themes -y
2. Create a Minimal Theme
Create a theme directory:
sudo mkdir -p /usr/share/plymouth/themes/silent
Create the theme configuration file:
/usr/share/plymouth/themes/silent/silent.plymouth
[Plymouth Theme]
Name=silent
Description=Static splash screen
ModuleName=script

[script]
ImageDir=/usr/share/plymouth/themes/silent
ScriptFile=/usr/share/plymouth/themes/silent/silent.script
3. Create the Rendering Script
Create:
/usr/share/plymouth/themes/silent/silent.script
wallpaper_image = Image("splash.png");
screen_width = Window.GetWidth();
screen_height = Window.GetHeight();
wallpaper_sprite = Sprite(wallpaper_image);
wallpaper_sprite.SetPosition(0, 0, -100);
Script logic:
- Load the prepared boot image
- Get the current display resolution
- Create a fullscreen sprite object
- Set the layer order so the image stays at the bottom
4. Deploy Resources and Activate Theme
Copy the image:
sudo cp /boot/splash.png /usr/share/plymouth/themes/silent/
Activate the theme:
sudo plymouth-set-default-theme -R silent
Important note:
The -R parameter not only sets the default theme but also runs:
update-initramfs -u
This compiles the theme into the initramfs, allowing Plymouth to display the splash screen during the early kernel boot stage.
Technical Explanation
Boot Sequence of Raspberry Pi 5
The Raspberry Pi 5 boot process differs significantly from older versions.
-
Firmware stage
Initializes hardware such as PCIe and HDMI. -
systemd-boot stage
Loads the kernel and initramfs. -
Basic system stage (
basic.target)
The framebuffer device becomes fully available.
This explains why the fbi method fails: it starts as a system service, but the framebuffer device may not yet be ready. Plymouth runs earlier as part of the boot process.
Visual Layer Control
In the script:
SetPosition(0, 0, -100)
The negative Z-axis value places the image at the bottom layer, ensuring that future UI elements will not cover it.
This layering mechanism is essential for creating a clean splash screen.
Verification and Testing
Reboot the system:
sudo sync
sudo reboot
Expected results:
 No rainbow boot square
- No kernel log output
- No blinking cursor
- Custom image displayed during the entire boot process
If characters still appear during the firmware stage, they originate from start.elf. Removing them requires replacing bootloader logo resources, which involves deeper modifications.
![]() After completing this setup, your Raspberry Pi will display a fully customized splash screen from the moment power is applied, providing a polished and professional boot experience.
After completing this setup, your Raspberry Pi will display a fully customized splash screen from the moment power is applied, providing a polished and professional boot experience.